OffersHub, allows you to set up your custom email server. To setup, go to System Preferences > Email Settings.
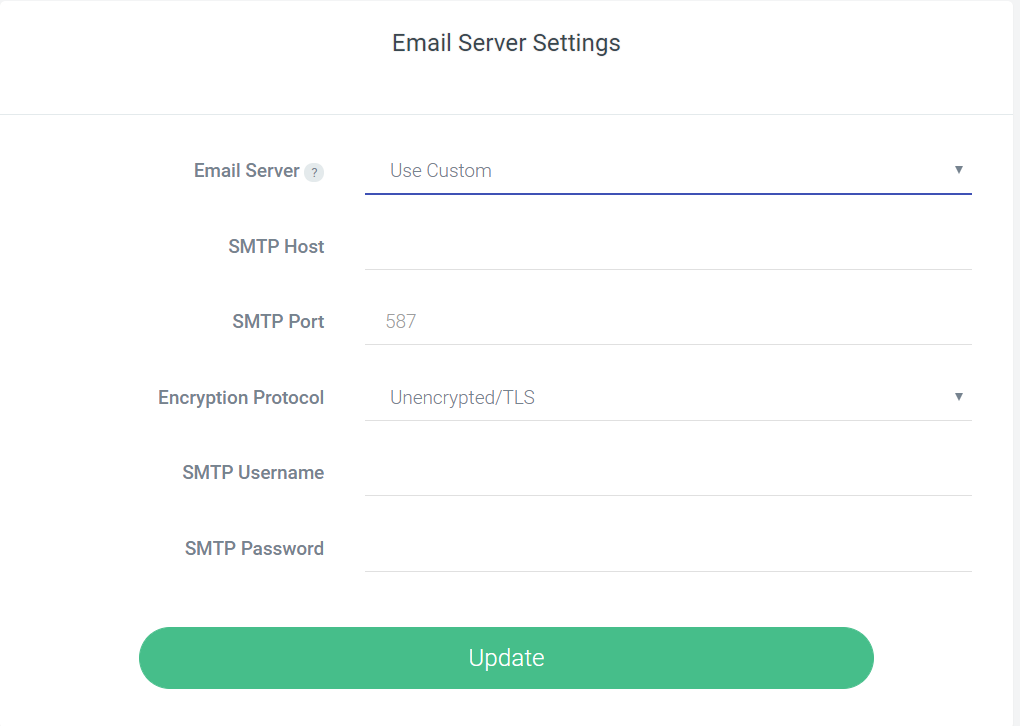
Select ‘Use Custom’ from the email server drop down and enter the required configuration details of your own server.
OffersHub, allows you to set up your custom email server. To setup, go to System Preferences > Email Settings.
Select ‘Use Custom’ from the email server drop down and enter the required configuration details of your own server.
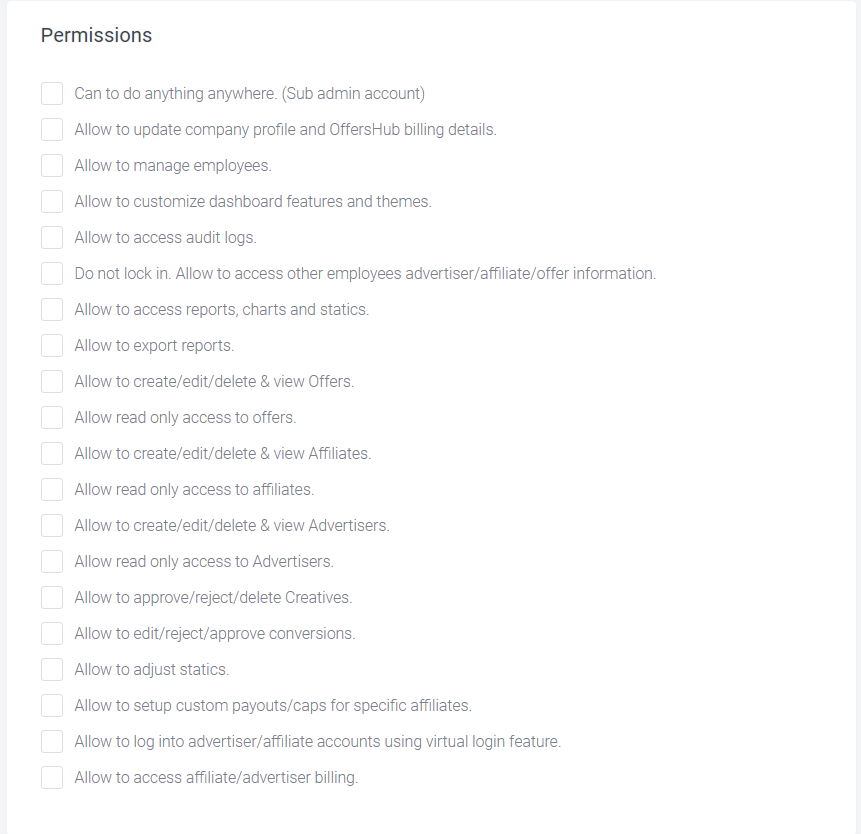
To manage the features of affiliate account, go to Settings > System preferences > Affiliate settings.
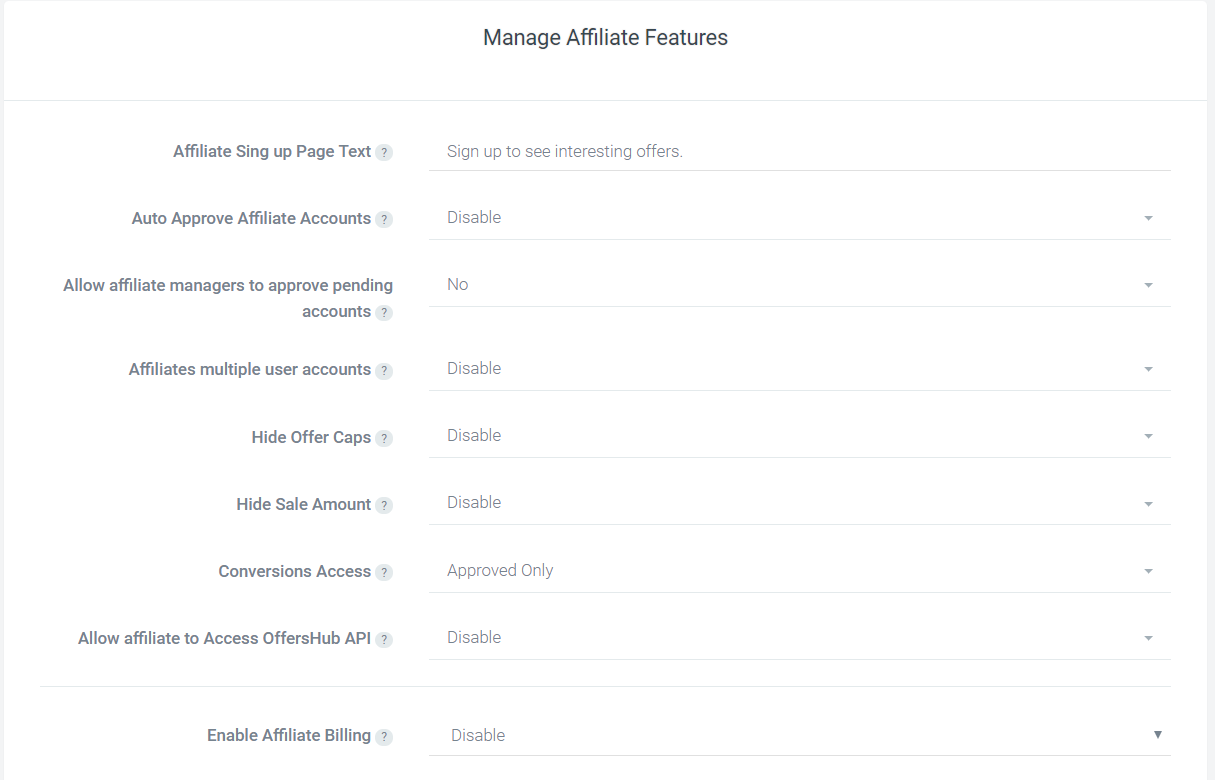
You can edit the text for Affiliate Sign up and set up your own text. Set the various permissions for affiliates, enable or disable the billing, conversion access and many more.
The Advertiser account will have the same options that can be modified.
OffersHub provides you 32 currency option which you can set as default in the system. USD is the currency selected by default in OffersHub.
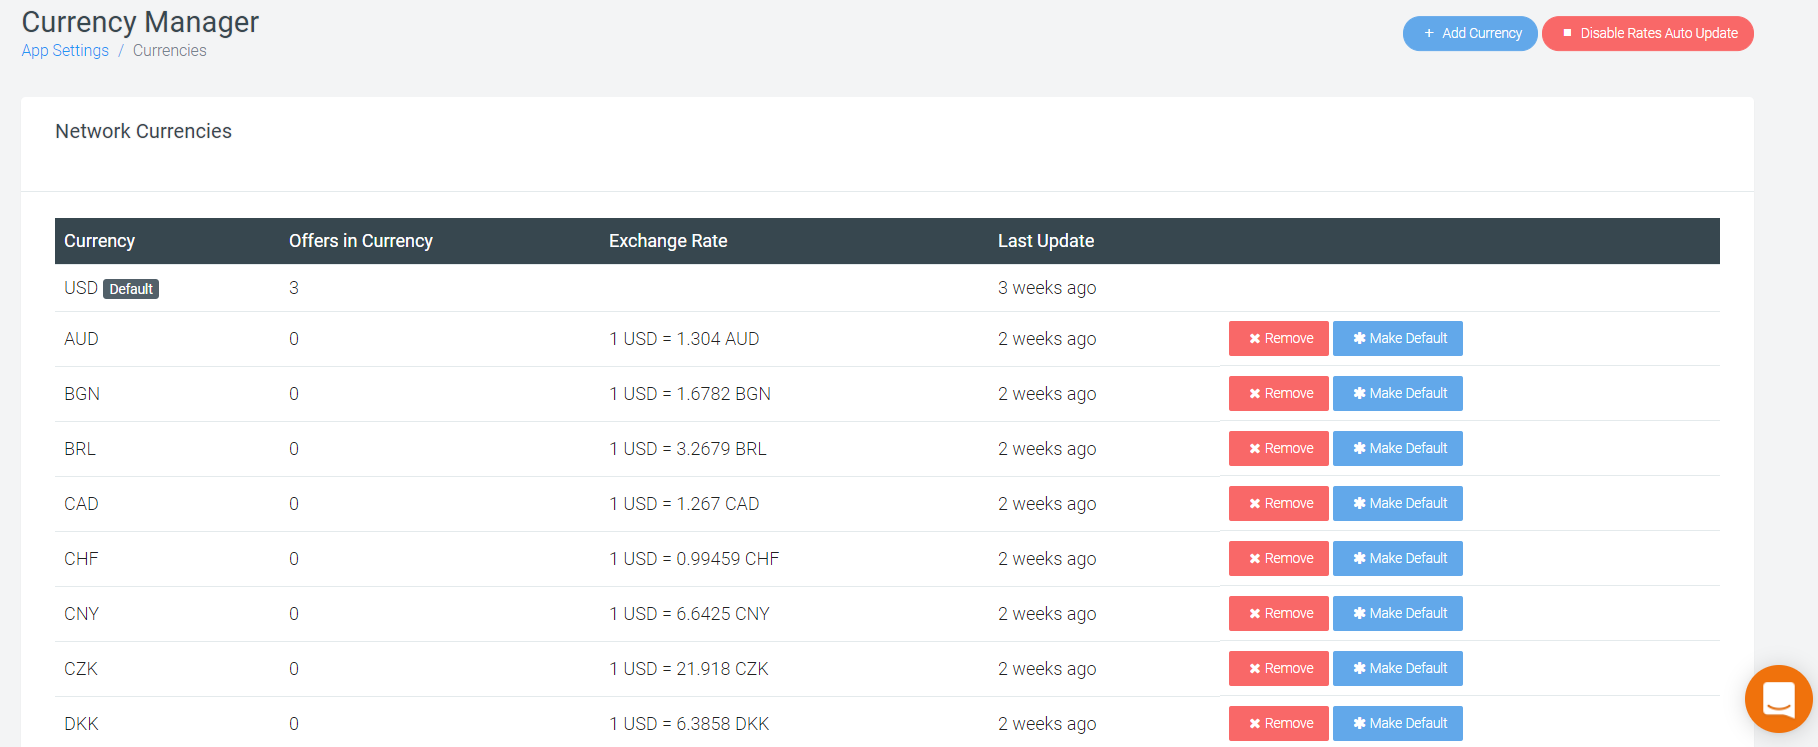
Click on ‘Add currency’ to add the currency which is not in the list. You will get all the currency in a drop down which are not in the system and you can select the one which you want to. The currencies are on auto update which will update their rates on daily basis according to the conversion rates.
OffersHub allows you to change the primary domains assigned to you and setup your own custom domain. To make changes in domain, go to Settings > System Preferences > Custom Domains.
As a part of our whitelabeling features, you’re allowed to use your own domain/ company domain to access the Admin, Affiliate & Advertiser dashboards. You’re available to access the domain configuration page from following the path given above.
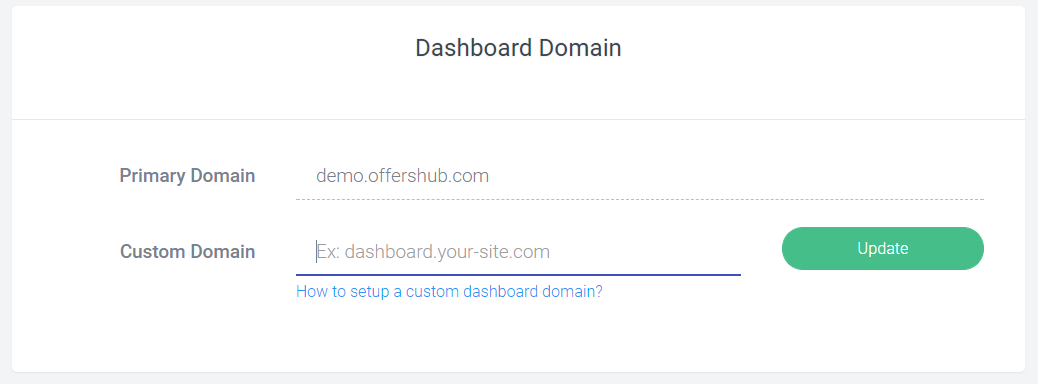
Please note, Before you update the dashboard domain setting, you will need to update the DNS records for the domain. For example affiliate.example.com is the domain you wish to use, first thing you need to do is, go to your domain’s DNS manager and add CNAME record pointing to dashboard domain provided by offershub. For example, if your Offershub provided primary dashboard URL is demo.offershub.com , your CNAME value will be demo.offershub.com. Once you’ve done this step, it might take up to 6 hours to update your DNS records across the internet. Once you’re sure that DNS updating process is completed, you can go ahead and add the domain to our panel. Our system will automatically check for your new domain’s DNS record, if it’s find any issue you will see an error message with explanation.
As well as the dashboard domain, you’re also allowed to have your own domain(s) as tracking domain. In the same page above, you will find options to setup your own tracking domains as well. With ofershub, You can have more than one custom tracking domain and one default domain. According to your choice you can have different tracking domains for different offers, affiliate & advertisers.

To update your tracking URL, the process is almost same as updating your dashboard domain. The first thing you need to do is add CNAME record to the domain/subdomain of your choice by pointing it to your primary tracking domain provided by offershub. For example, if your primary tracking domain is demo.go2oh.net and you need to add tracking.example.com as your custom tracking domain, simple go to your DNS manager, select the domain and create CNAME record for “tracking” with the value “demo.go2oh.net”. Once you done this process, you can go head and add your custom tracking domain by clicking ‘Add Domain’ button.
Since, we allow you to have more than one tracking domain, you can have one default tracking domain. You can change your default tracking domain in the same page.
NOTE: Changing your tracking domain from one custom tracking domain to another will cause any current affiliate tracking links and advertiser pixels that use the old custom tracking domain to not work. Only one custom tracking domain can be used at any given time.
OffersHub allows you to change look and feel of the platform the way you like. To make the changes in platform’s look & feel, go to Settings > System Preferences > Branding.
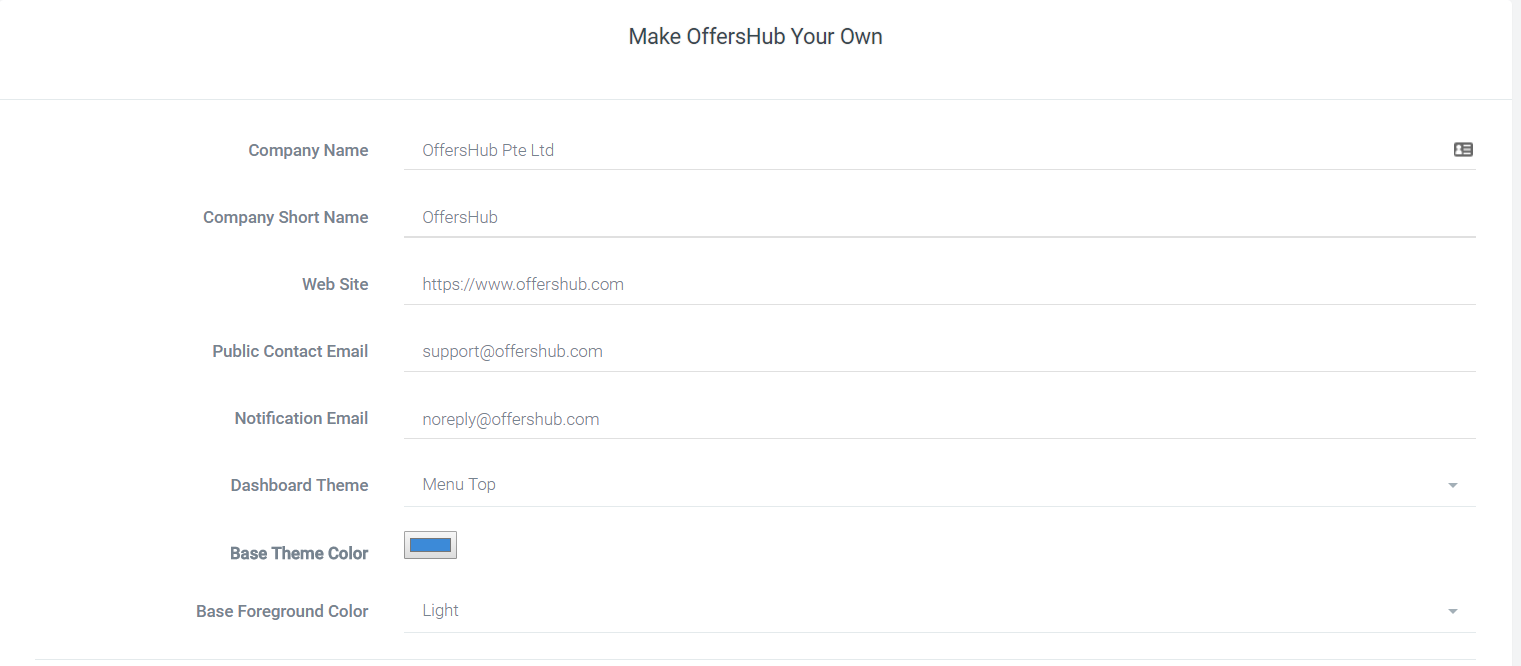
You can change the dashboard theme, base color, foreground color and select the color which you feel best for you.

You can also change the background images, keep the icon of your own company, change the company logo. Along with the changes in appearance, you can set the logout url and divert the user to that url, add the links to your social profiles and many more changes which will make you feel like you are having your in-house platform.

Once the account of an employee has been created, you can find them in the Manage Employee.
Select the employee of whom you want to modify the data.
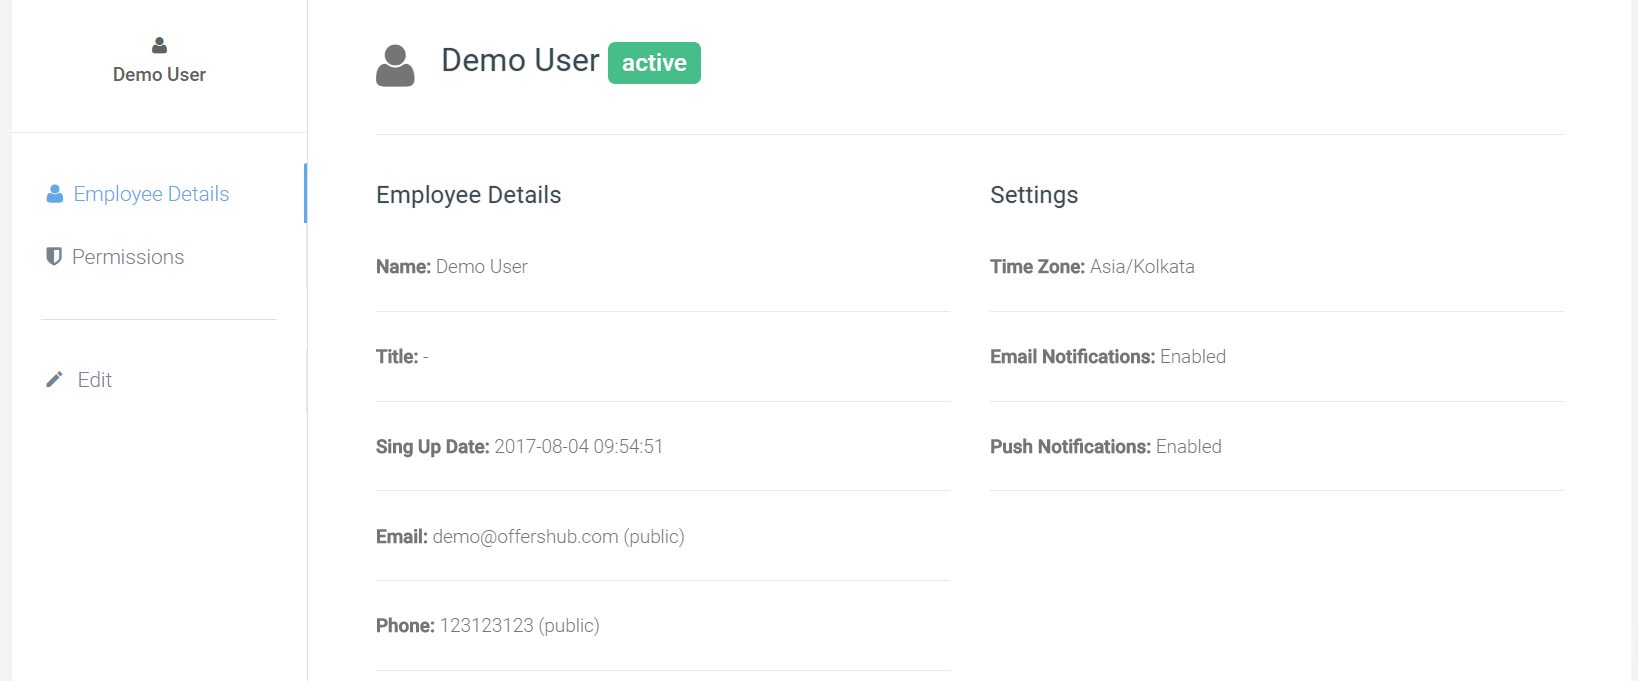
Here you can see all the details of the employee. To modify the details and update the permissions granted, you can click on Edit and get all the things updated.
To create a new employee, go to Setting > Manage Employees > Create Employee.
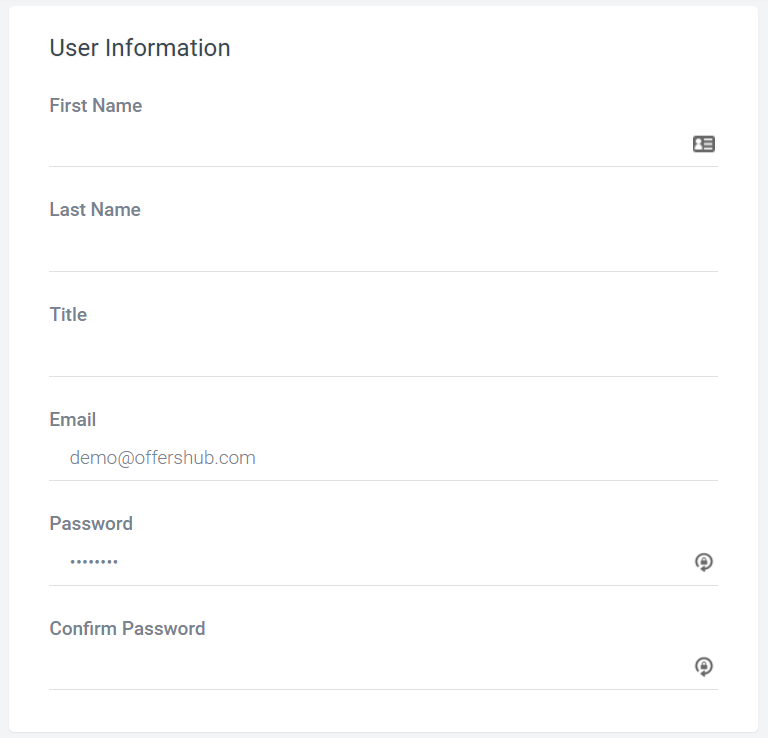
Here you need to fill the basic information of the employee. First name, Last name, Title etc.
Once done, assign the permissions to the employee.
Save the employee after assigning the permissions. You employee will now display in employee list.
OffersHub provides you a rare feature which allows to you create smart links for your offers. To create smart links, you need to add the offer to the smart group which is you can create in Offers > Smart groups.
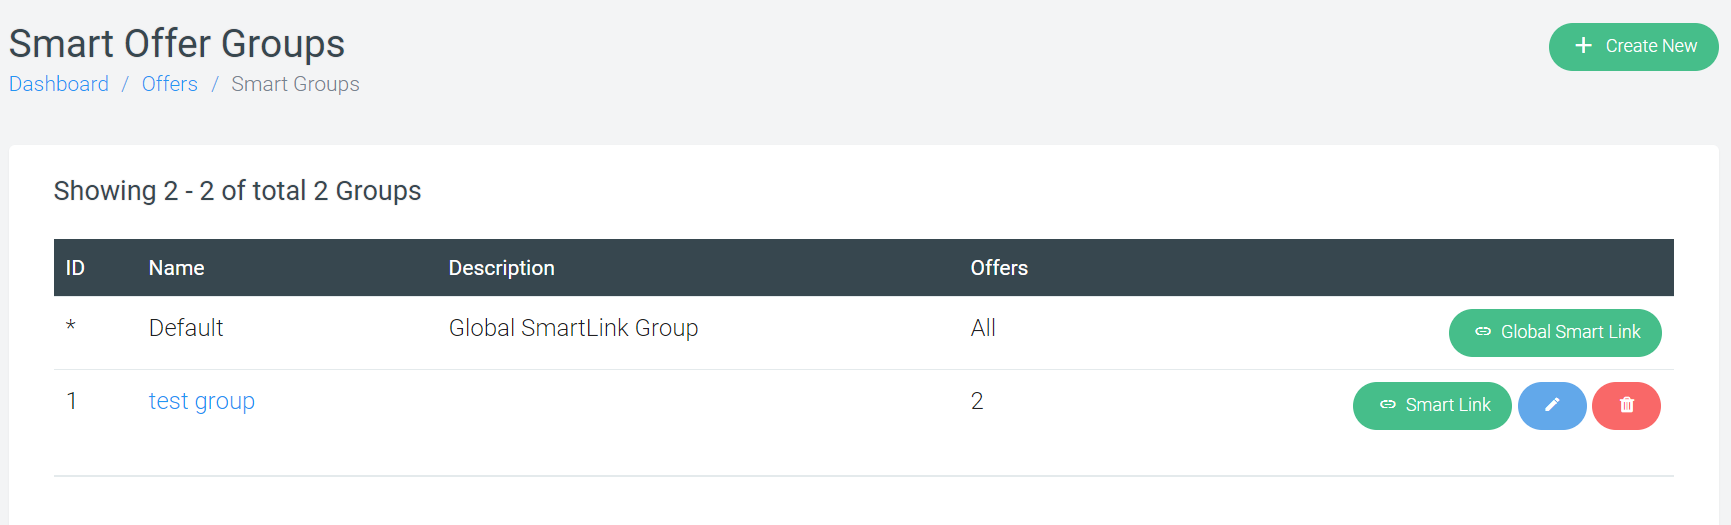
You can see the smart groups already created and a global smart link group. To create a new smart group, click on ‘Create new’. You need to enter the name of group, description (optional) and marking the group as private if you don’t want all your affiliates to see the group.
Once the group has been set up and offer is added in the group, you can generate the smart link as below:
Click on the Smart link icon to generate the smart link. 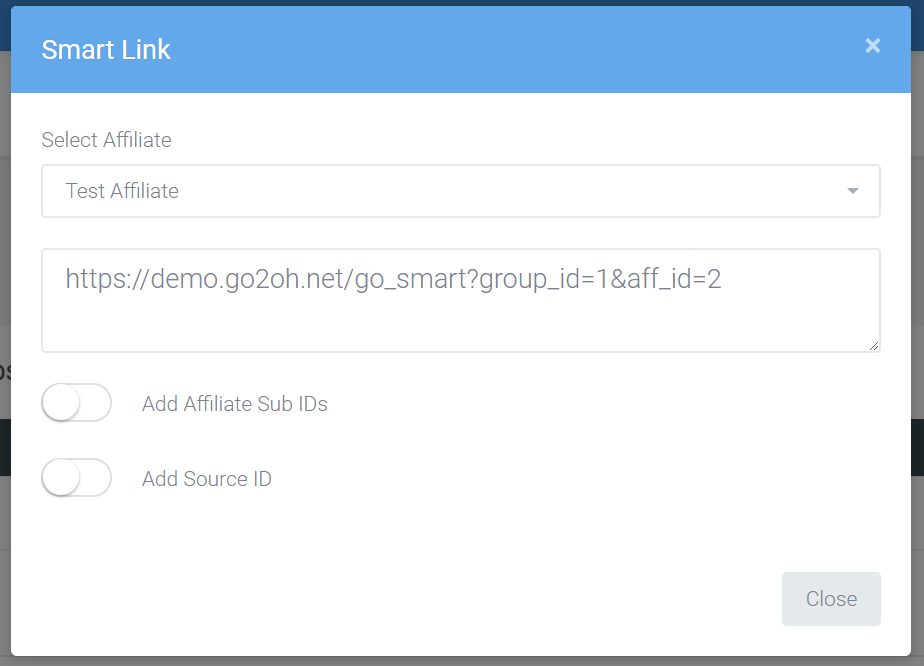
As shown, select an affiliate and smart link will be generated. You can add the additional parameters requested by your affiliate by enabling the options provided below.
The smart link helps in directing the user to any particular offer based on user’s behaviour, device, targeting etc. The offer is selected randomly based on their performance.
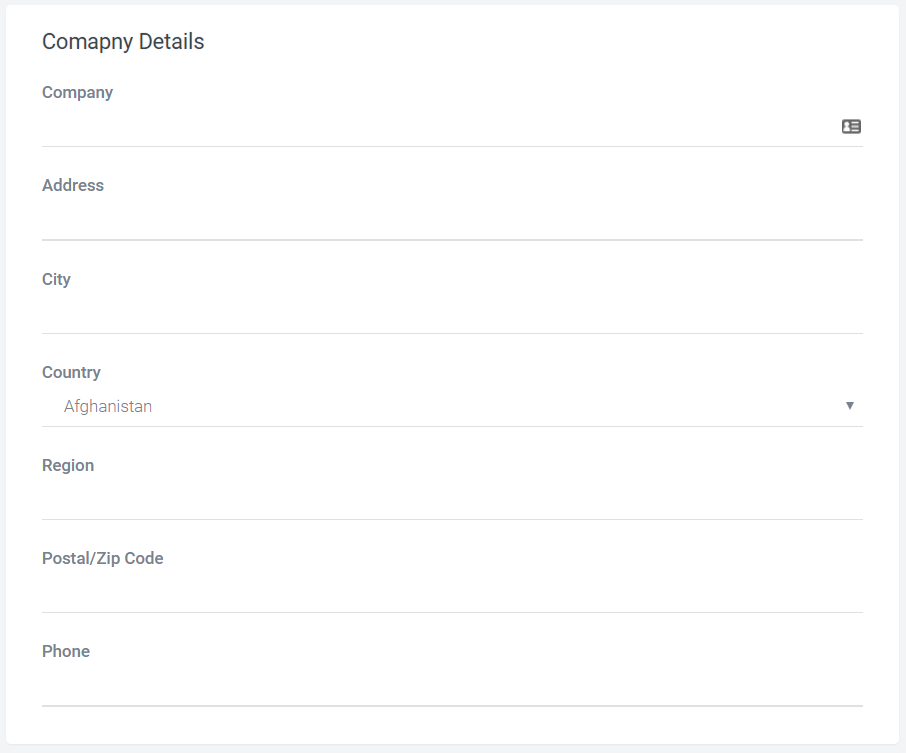
To create an advertiser account in OffersHub, go to Advertiser> Create Advertiser. As first step, all the basic information about advertiser account is required to be added.
The next step is entering the details about Advertiser User.

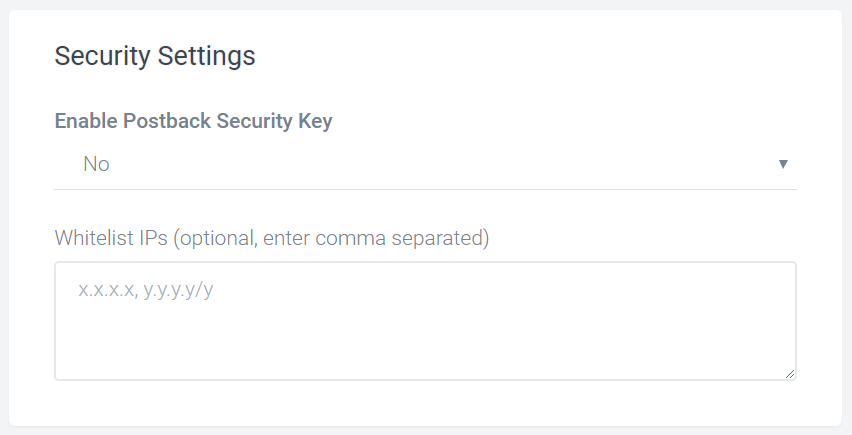
Next step is security settings where you can enable the postback security key and whitelist the IP’s if needed.
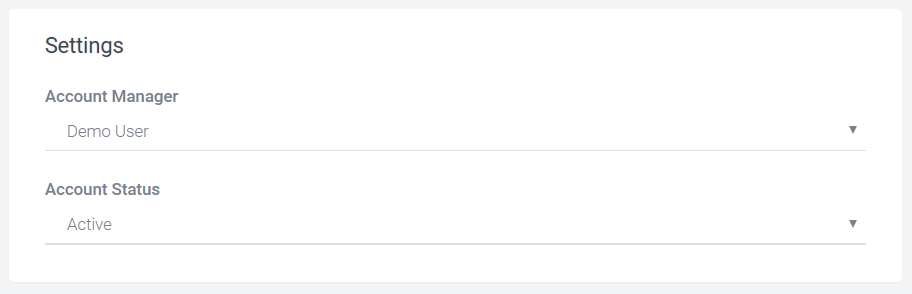
Finally, assign an Account manager to the advertiser and set the status.
After you create advertiser account successfully, you can find the advertiser in “Manage advertiser”. Click on the advertiser name which will take you to the advertiser details page where you can see and modify all the details.
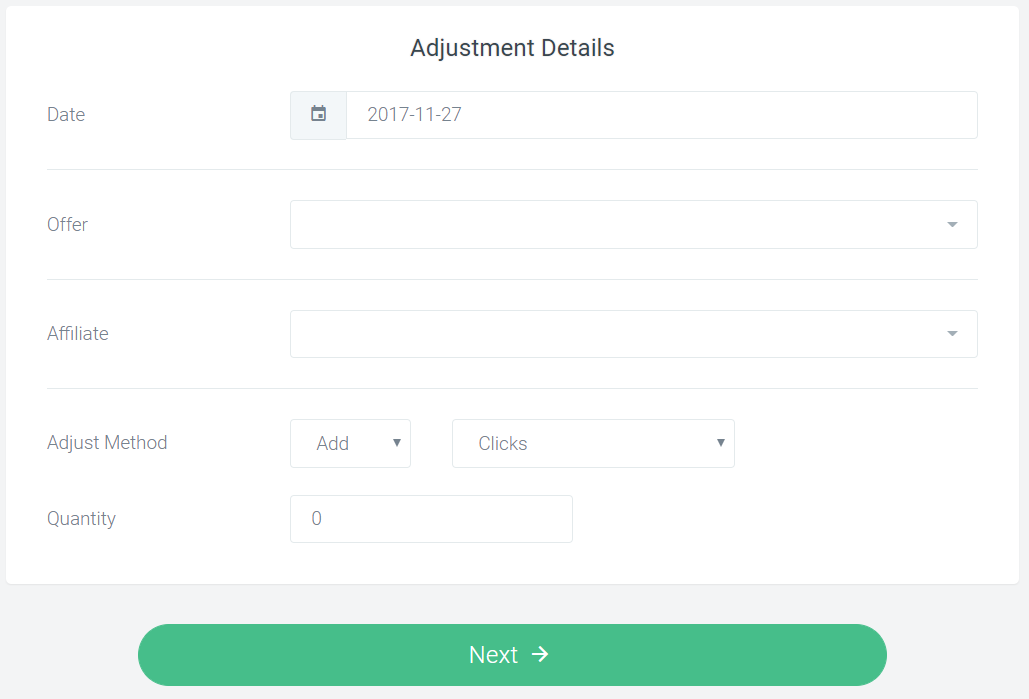
You can manage/modify the stats of an affiliate in adjust statistics.